How to Insert Images into Email Templates
TinyMCE Email Templates
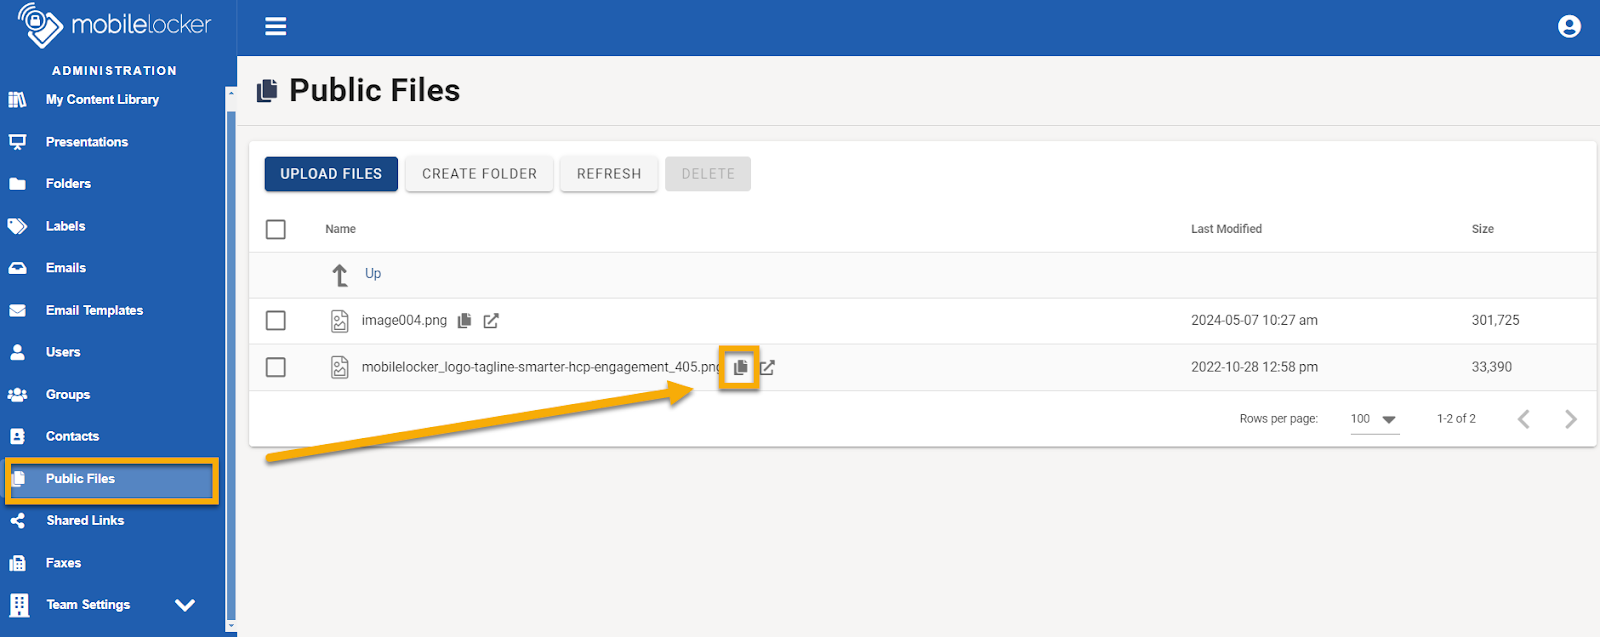
When using a TinyMCE Editor, go to the Public Files section to copy the URL image first. Find the file, and click the clipboard icon.
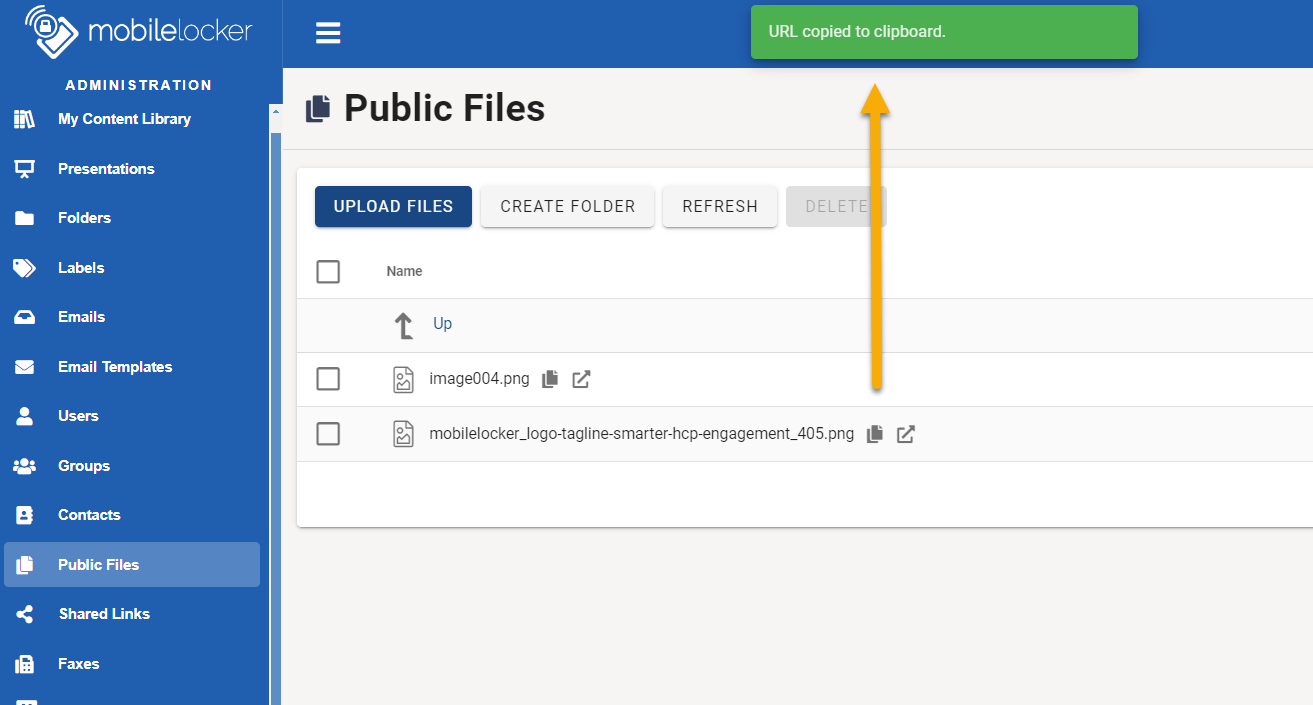
Once selected, this message will appear. Now, you are ready to insert the image.
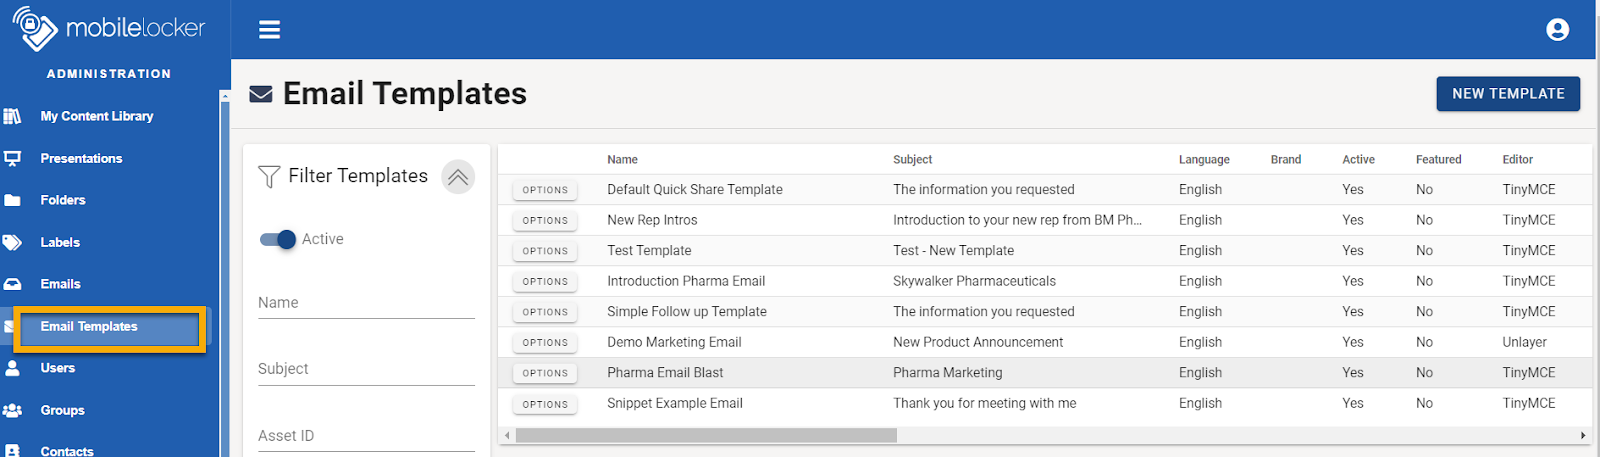
Switch to Email Templates from the Main Navigation Menu.
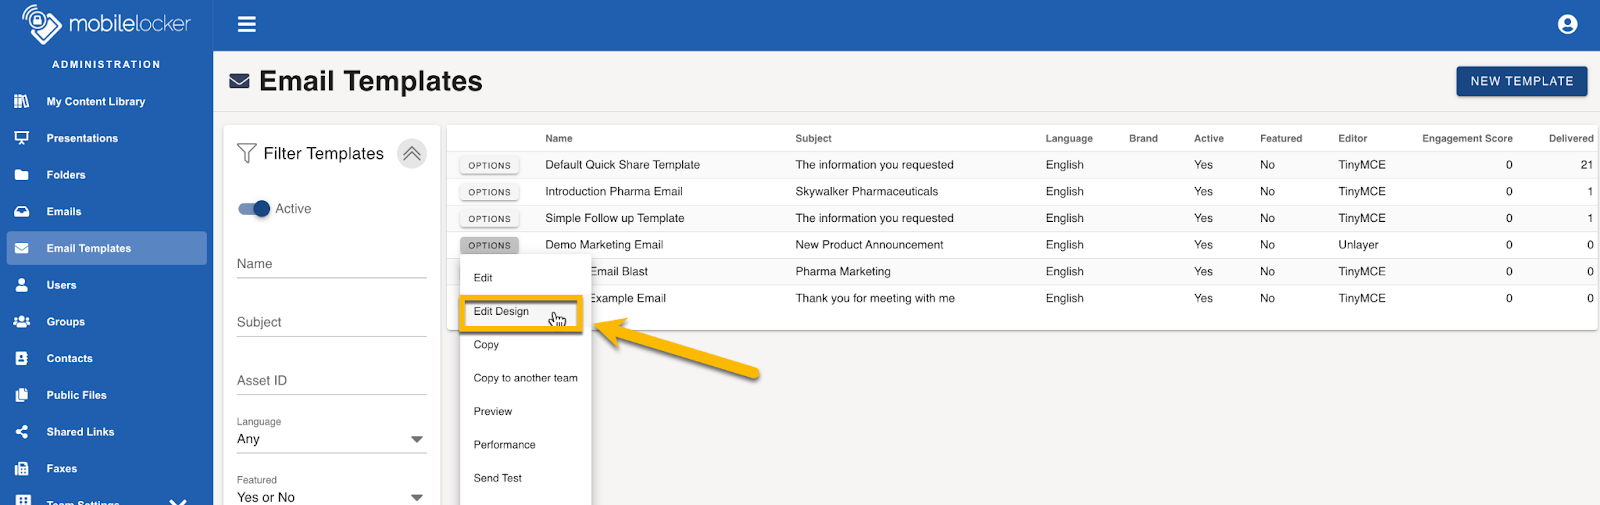
This page displays Email Templates.
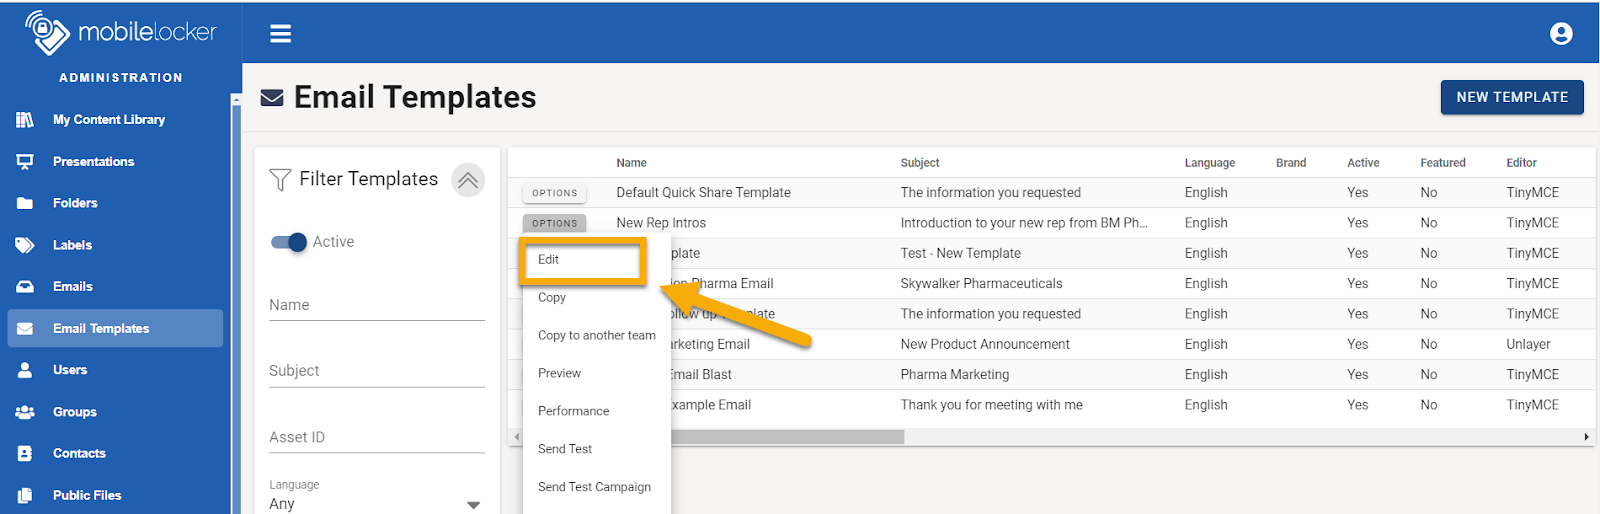
Click Edit.
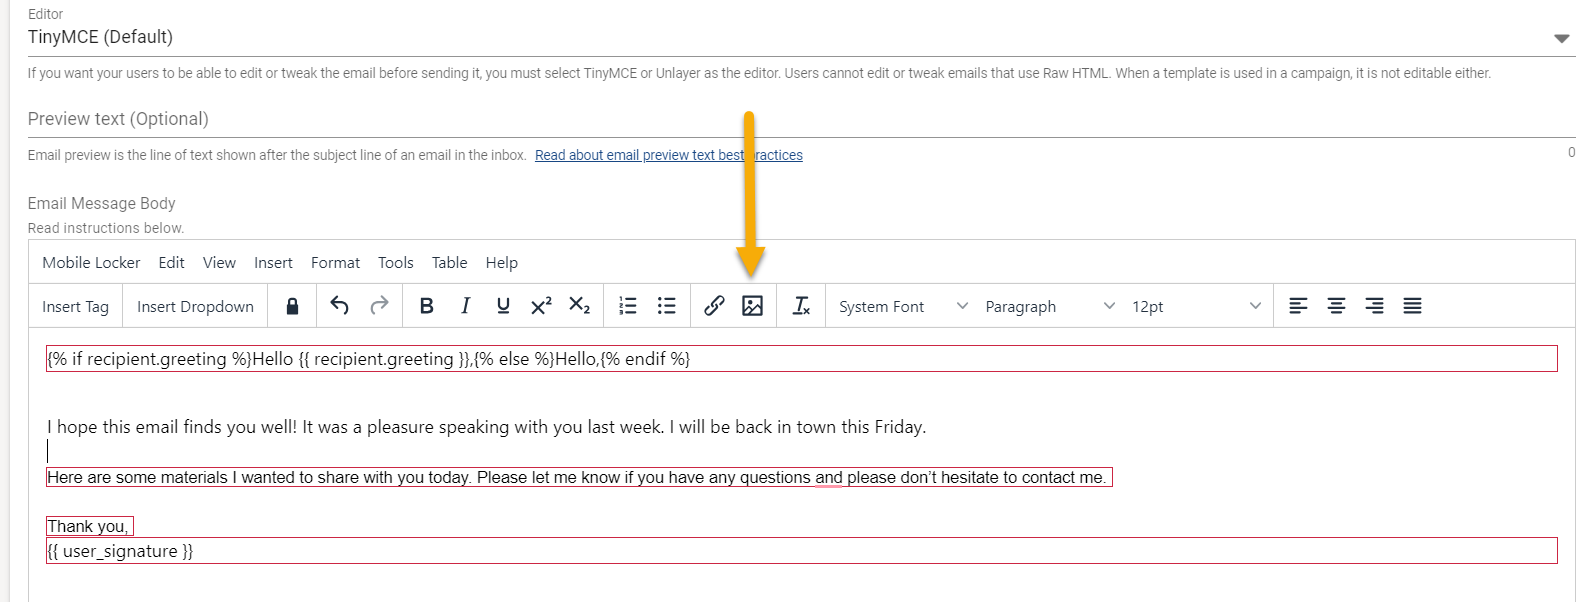
This page displays the Email Template Workspace. You can use the toolbar to design and format emails.
Position your cursor where you want the image to go. Click Insert/Edit image.
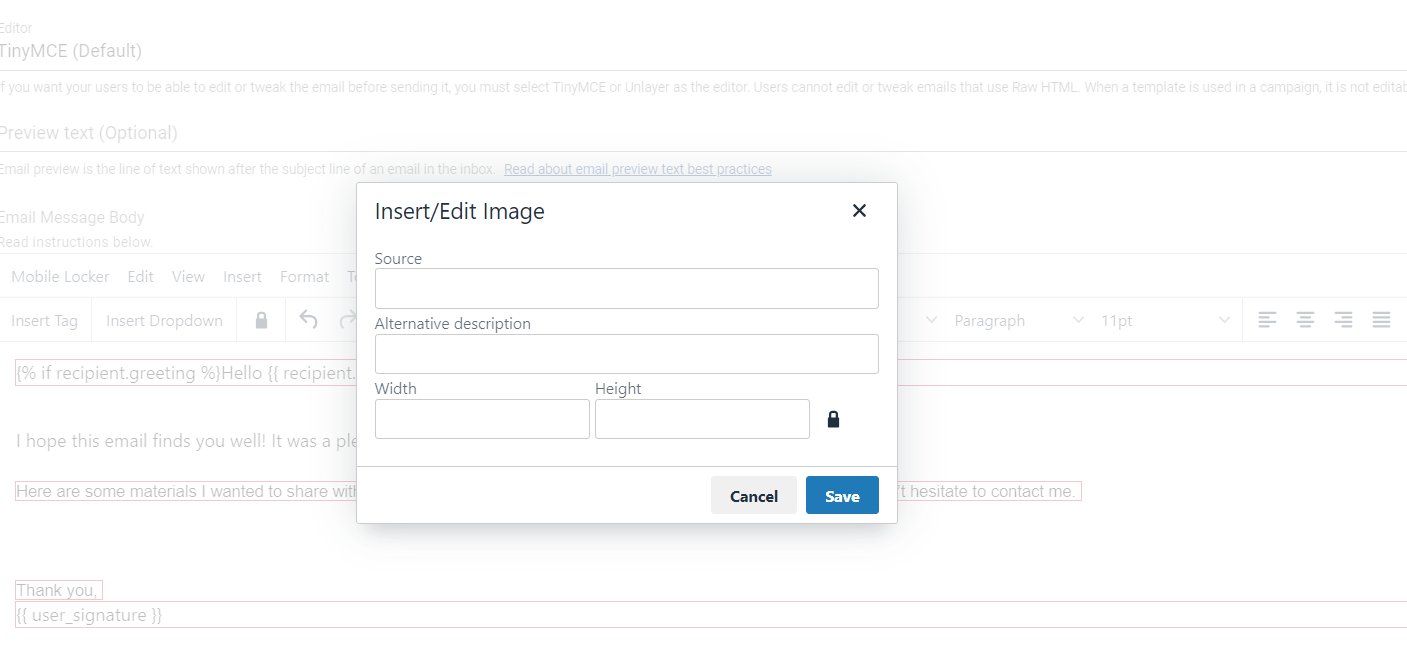
Paste the URL image to the Source Field and input an Alternative Description. If desired, you can adjust the width and height, then hit Save.
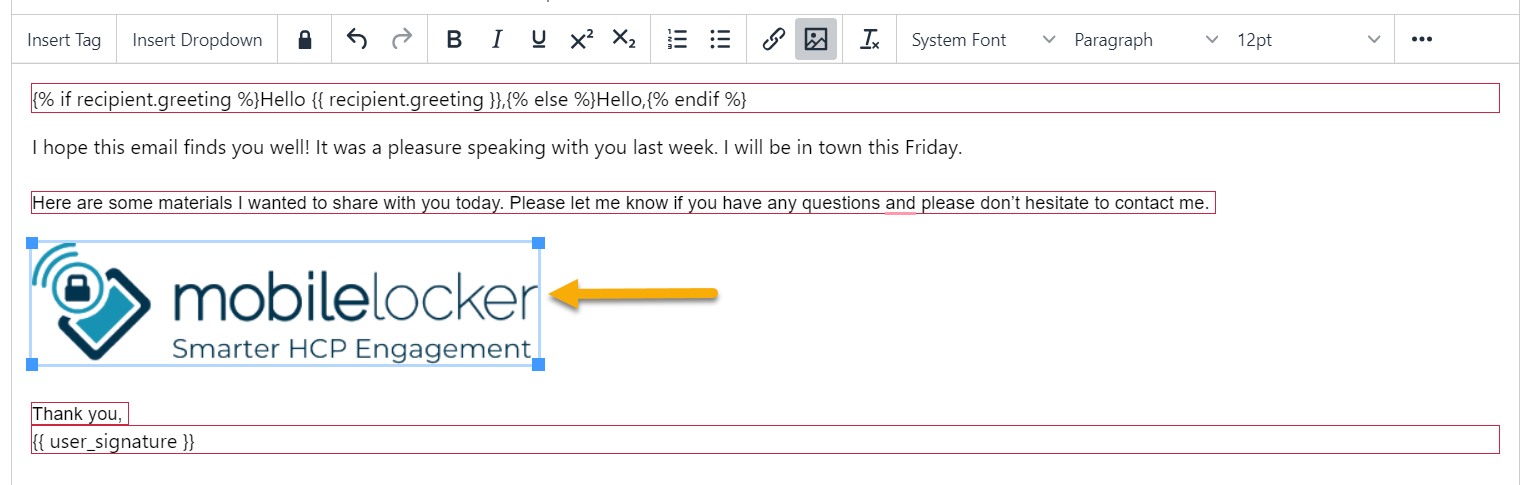
The image has been inserted into the email.
Unlayer Email Templates
To insert an image using the Unlayer Editor, click Email Templates from the Main Navigation Menu.
This page displays Email Templates.
Before editing, you must select Unlayer editor on the email template.
Click Edit design.
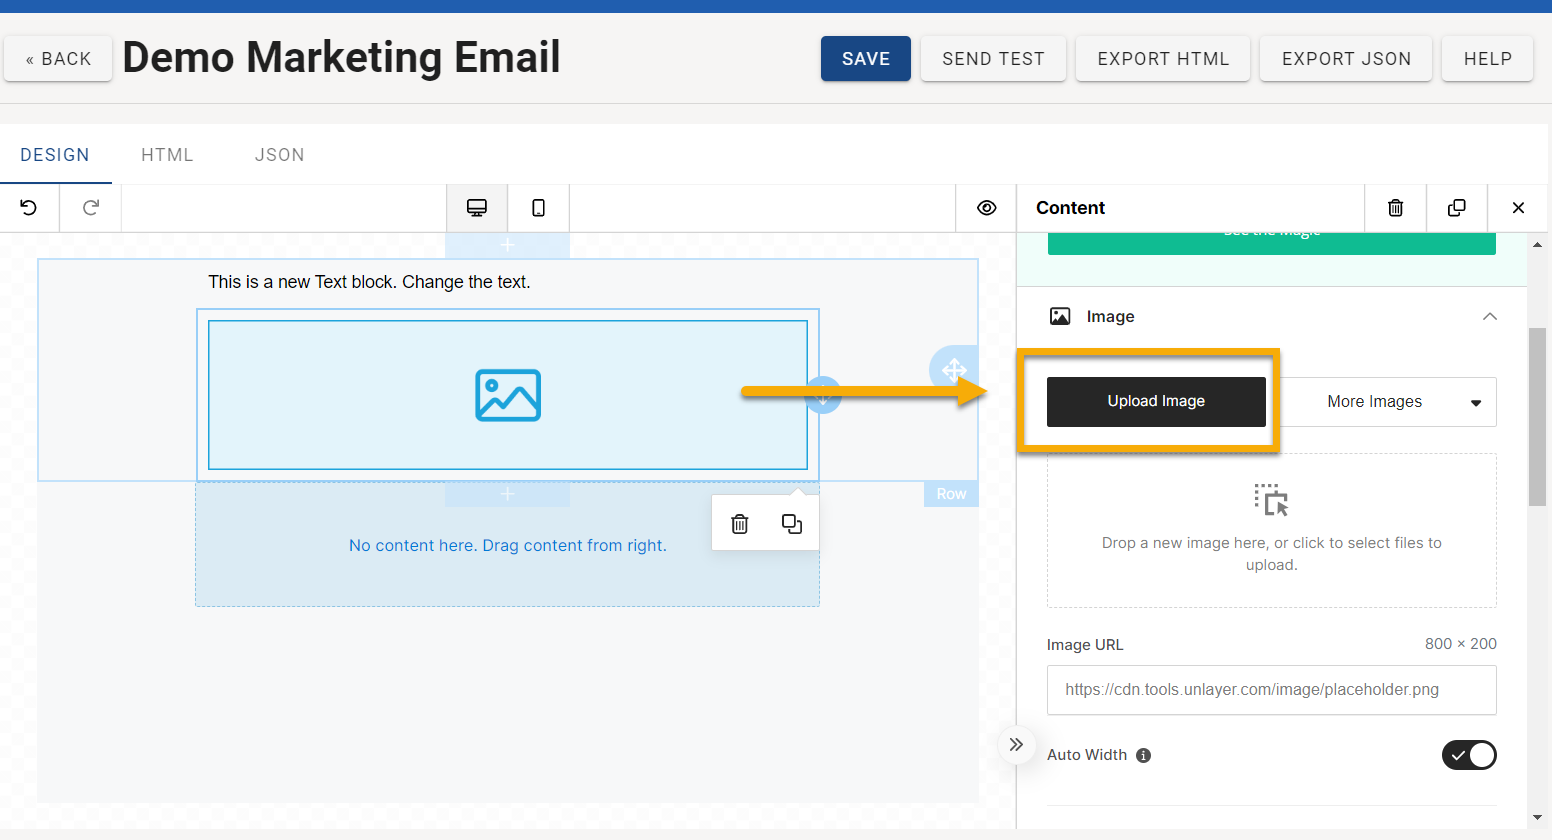
This page displays the Email Template Workspace. Click on the placeholder image and can upload an image directly from your computer.
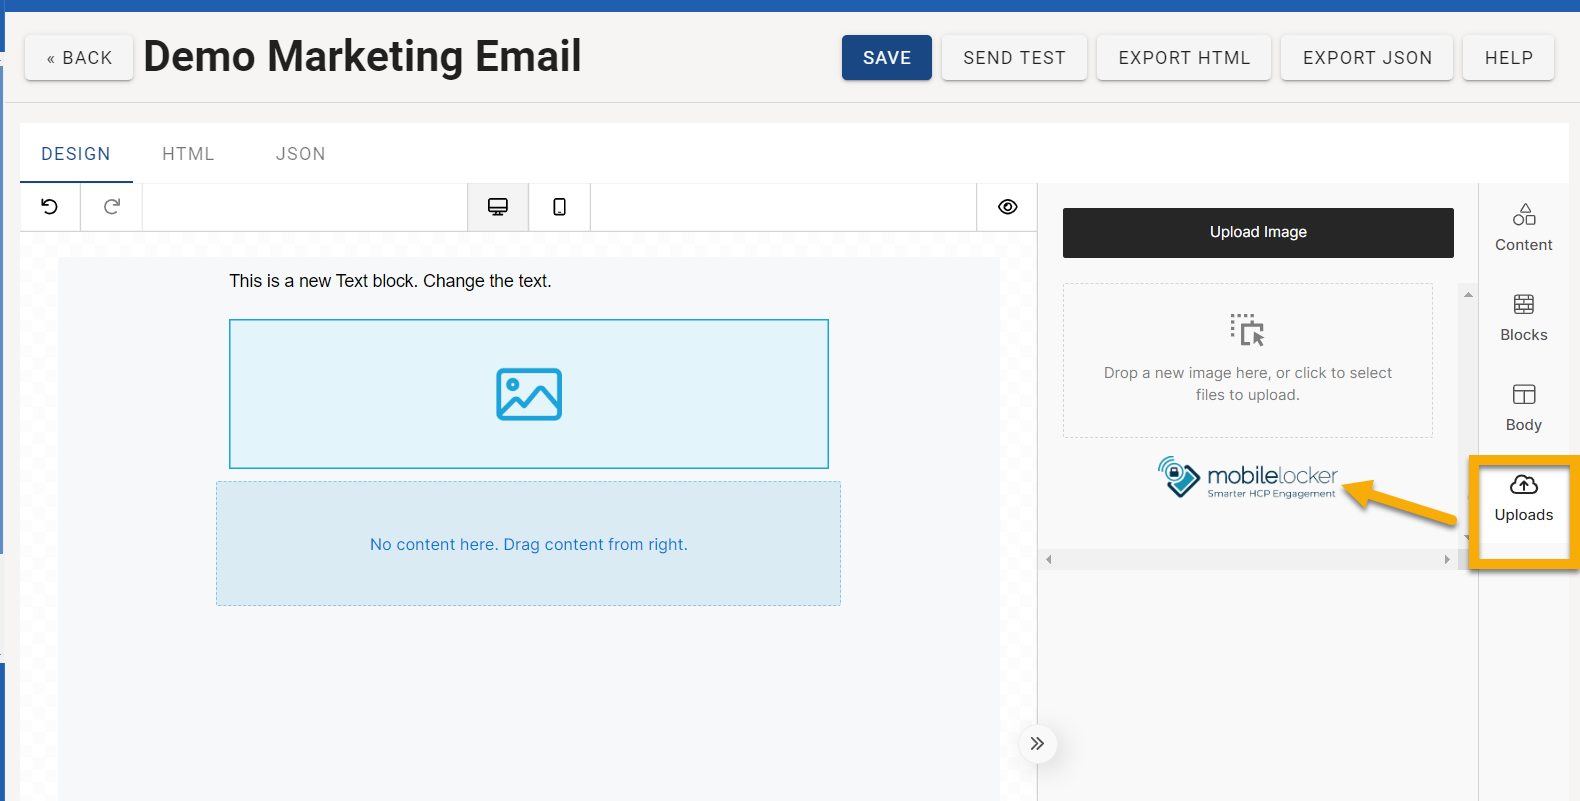
Alternatively, you can click Uploads and see all the images that have been uploaded previously to the Unlayer section.
If preferred, you can also still copy the URL image and fill it in here.
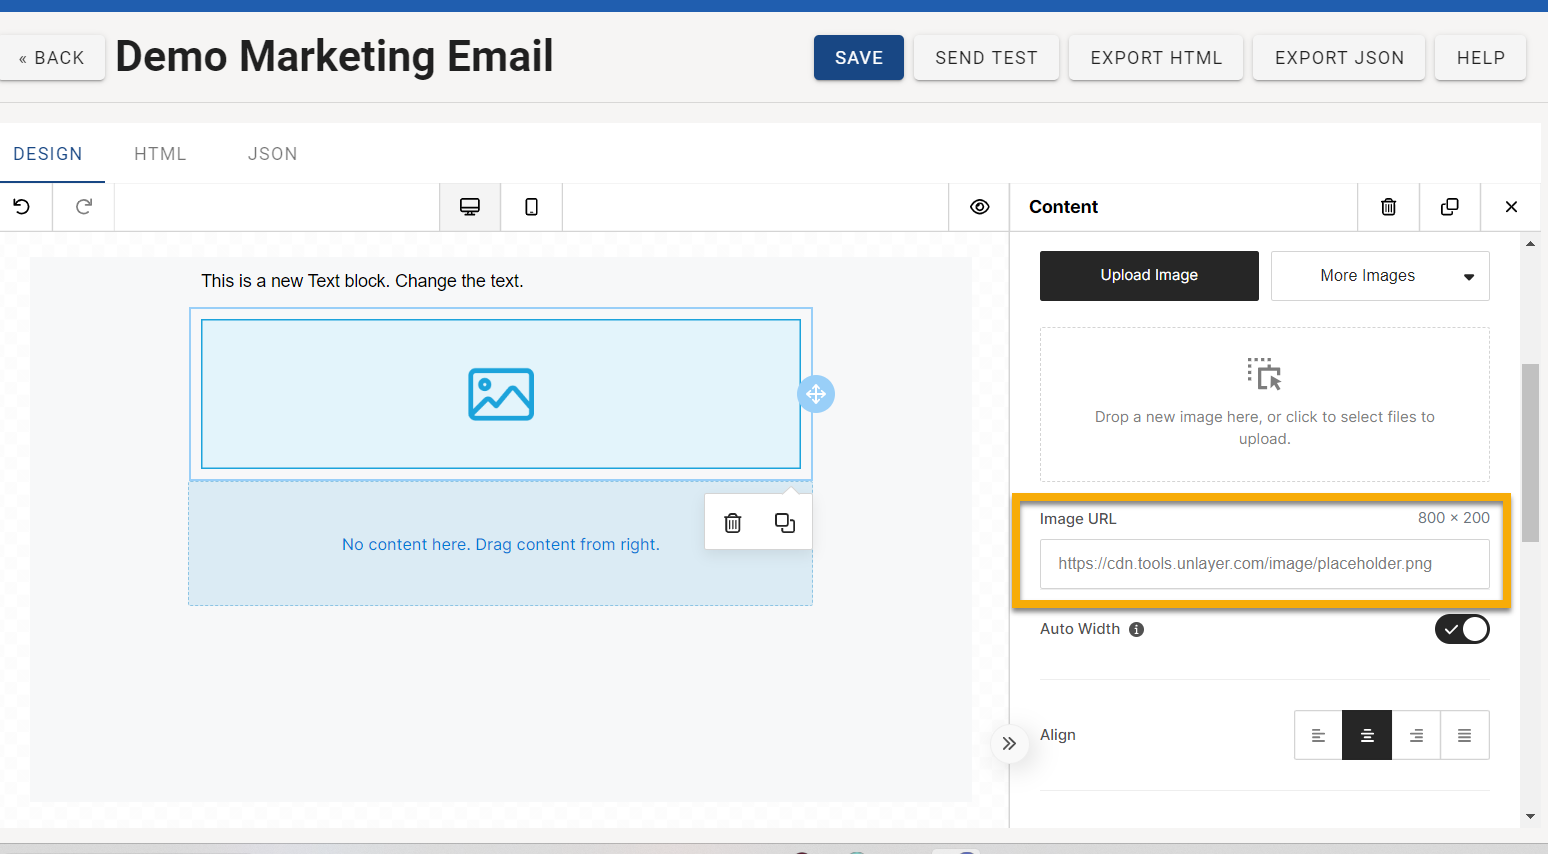
You can adjust different things using all the different parameters in Unlayer, such as width, alignment, and text.